Pick and Pack - mobile application
Mobile Application Overview
Requirements
How to install the mobile application
How to use the mobile application
Scan the shipping label barcode
Scan the picking list QR code
Automatically revert the invoice on cancel order
Mobile Application Overview
The mobile application enhances warehouse operations by optimizing product picking, accelerating package preparation, and minimizing human errors. It also enables efficient inventory tracking and physical stock checks by integrating with Shopify's product inventory.
Key Features:
- Shipping Label Scanning: Scan the shipping label barcode to instantly retrieve order details and associated products. This functionality allows you to perform both product picking or order cancellation, which automatically triggers the invoice reversal.
- Picking List Scanning: Scan the picking list QR code to view all orders and their consolidated product list.
- Product Barcode Scanning: Scan a product barcode to access real-time stock details from Shopify.
Requirements
Device
The mobile app can be installed on one of the following devices
Phone with Android operating system
Zebra scanner with Android operating system
Datalogic scanner with Android operating system
Urovo scanner with Android operating system
Honeywell scanner with Android operating system
Unitech scanner with Android operating system
Version
The minimum required version is Android 8.
Zebra, Datalogic, Urovo si Honeywell
Zebra, Datalogic, Urovo si Honeywell
Settings for scanning the products (optional - if you use product sku or barecode)
In Shopify, you must define an SKU or a Barcode for each product variant
In xConnector, uncheck this option: Mark as dispatched
xConnector > Profile > Preferences > Default values > Mark order as dispatched
Generate barecodes if you don't have them already on the product label
Example of an app for generating barcodes: https://barcode.tec-it.com/en
Optional settings needed for scanning:
Product scanning: Each product variant should have a barcode attached to the product storage place. This makes it easier to identify and track items during the picking process.
Mark order as Dispatched: uncheck this automated setting so you can mark the order as Dispatched with the mobile app
xConnector > Profile > Preferences > Default values > [uncheck ]Mark order as dispatched > Save
Product Placement in Warehouse: Products should be stored in a manner that is logical and accessible. Frequently picked items might be placed closer to the packaging area. You can save the product location: Row - Row unit - Shelf
The product's location in the warehouse. Save for each product variant details like row, row unit, and shelf in the mobile application so you can easily acces this info and you can pick the products from the right spots quickly.
Picking Carts and Boxes: These are used to collect items as they are picked. They should be sized appropriately for the types of products being handled. Prepare as many boxes as the number of orders you want to pick and number them starting with 1. The mobile application assigns each order to a numbered box starting with number 1.

Subscription: Pick & Pack application is included in the Advanced plan subscription.
How to install the mobile application
Step 1: Install the mobile app
On your phone/ scanner open this link that will redirect to the Google store where you can install the app. Click on the Install button.

Step 2: Authenticate
Open the mobile app and click on the Scan button
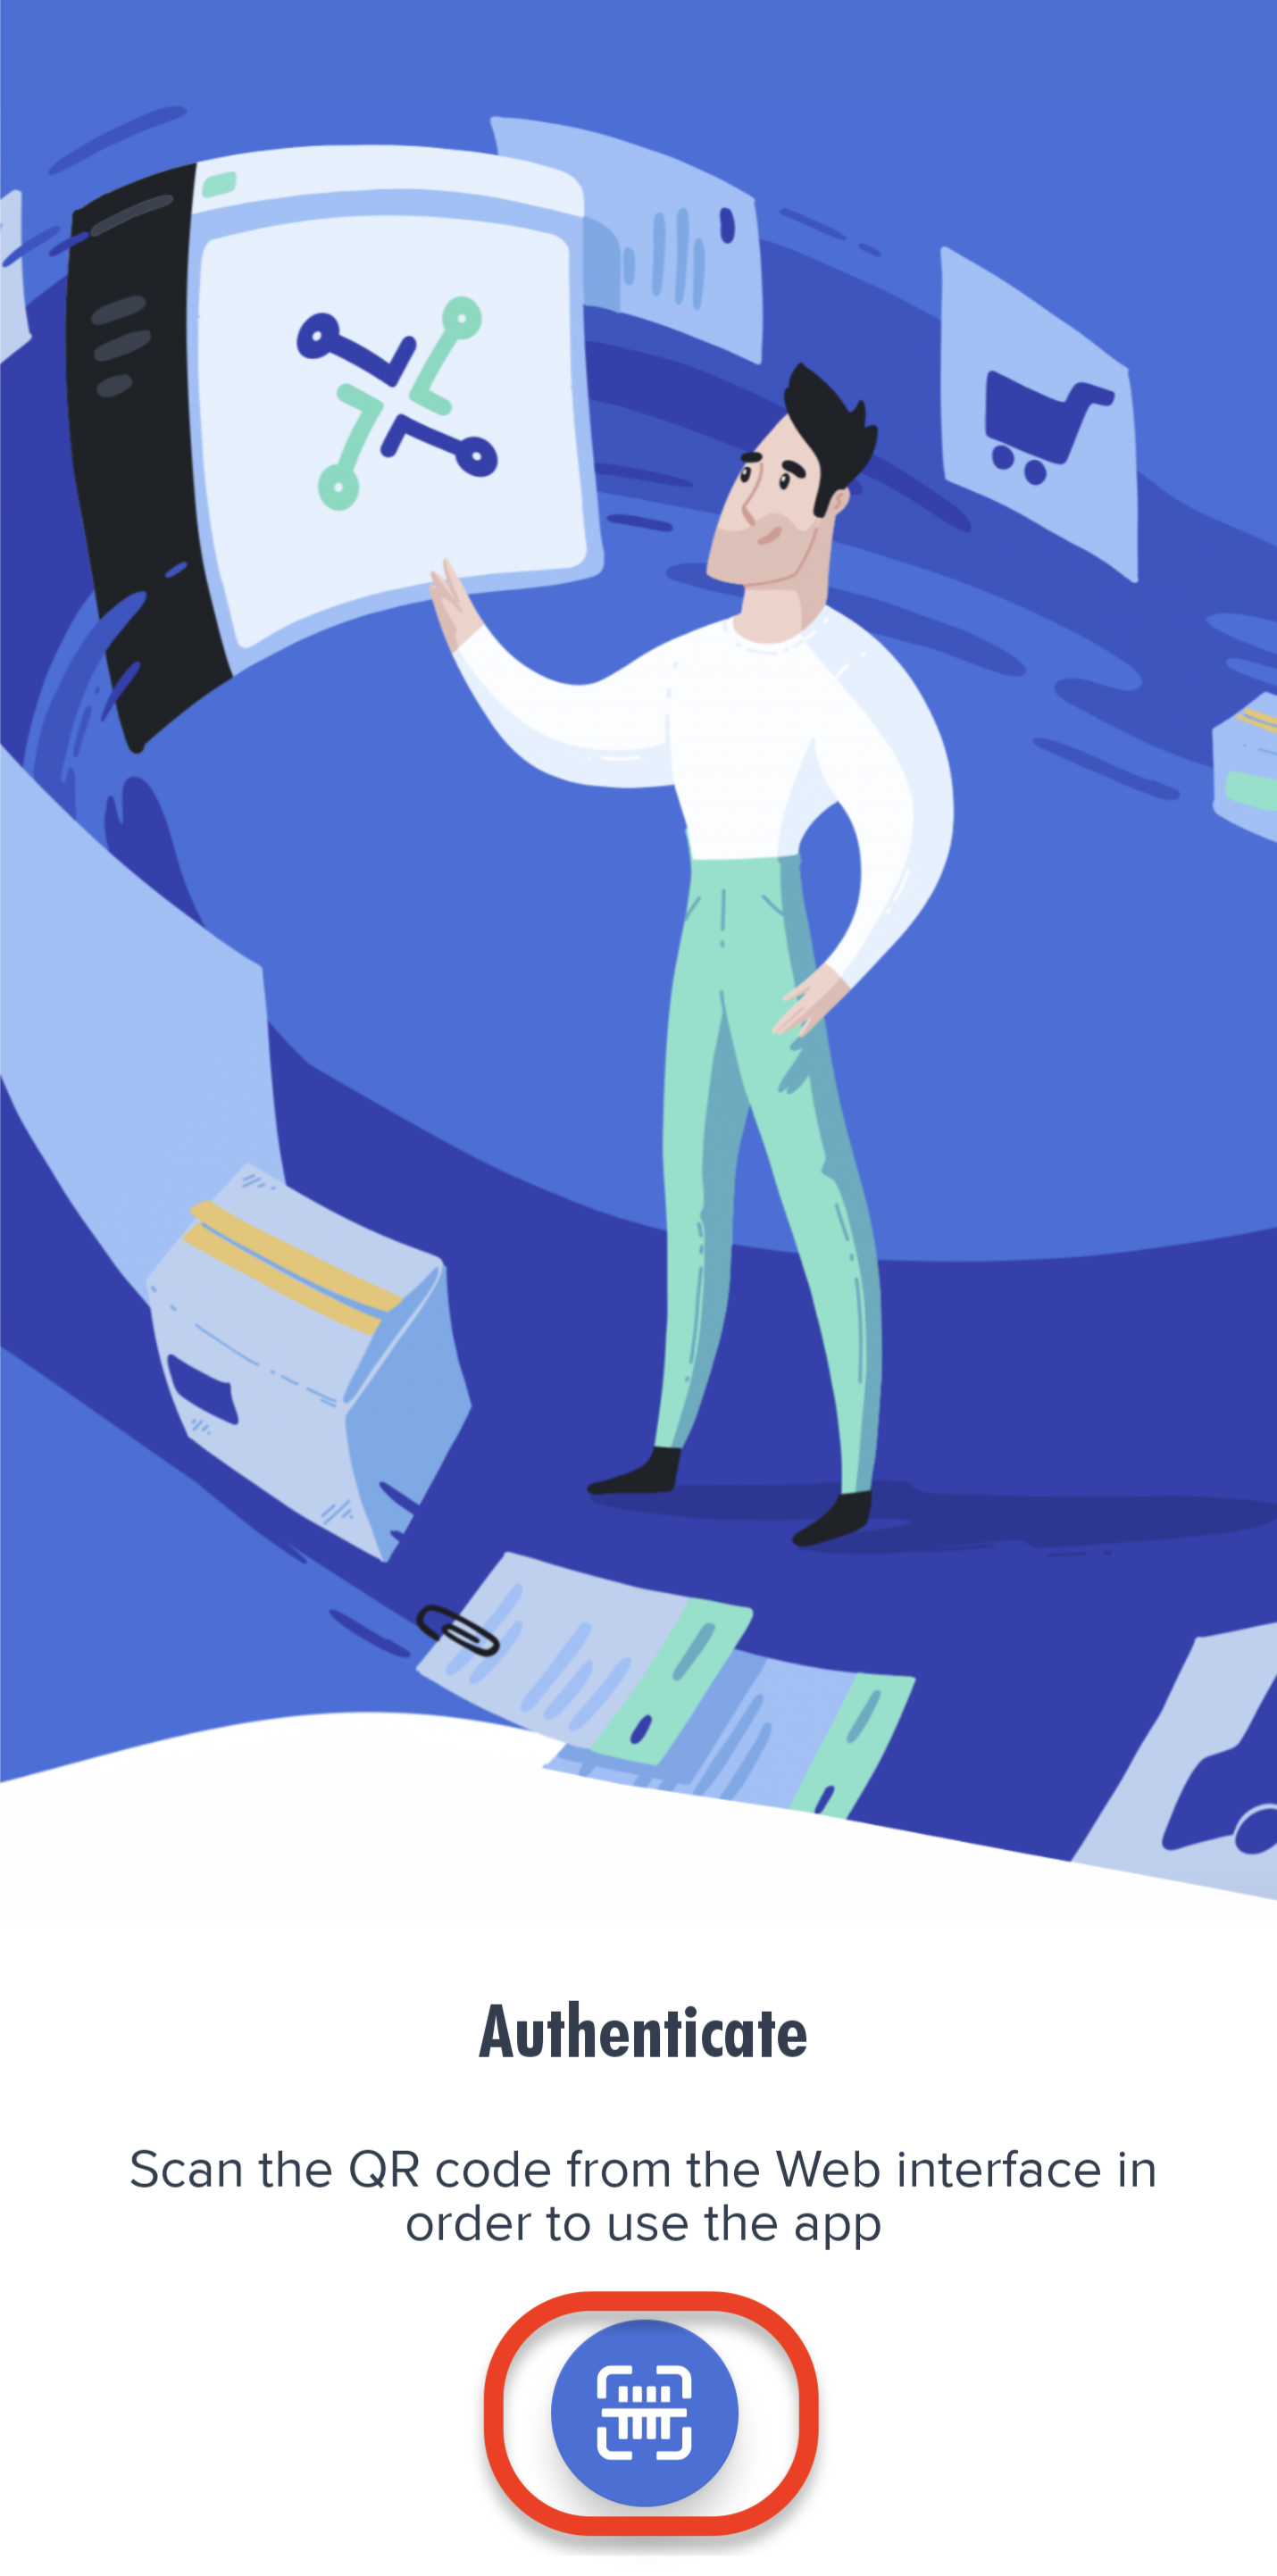
Than go to xConnector - Profile - Preferences - scroll down to Mobile application - Scan the QR code created for your shop .
Now the mobile application is installed on your device and you can use it.

How to add the product location in the Warehouse
Once you scan a product, a shipping label, or a picking list, the app shows the product’s warehouse location.

1. Check the options in xConnector - Profile - Preferences - Automation

Once you add a new metafield, xConnector can read it the next day.
2. Add the xConnector metafields at the product variant level in Shopify.
When adding a metafield in Shopify, you can modify the namespace before saving it.
Please make sure the naming is correct:
- use xconnector instead of custom
- use a hyphen
-instead of an underscore_

Metafields list:
Name: warehouse-row
Name space and key: xconnector.warehouse-row
example:

Name: warehouse-row-unit
Name space and key: xconnector.warehouse-row-unit
example:

Name: warehouse-shelf
Name space and key: xconnector.warehouse-shelf
example:


3. In Shopify → Products → Inventory, select the products, click BULK edit, and add the variant locations in bulk instead of one by one for each variant (drag or copy/paste also works).
There are three different parameters you can use to save the product location: Row, Row unit, and Shelf.
You can fill one or all of these metafields.
Also, you can try to export the products in excel format, fill in the metafields data, import again the products.

. Scan the product, the picking list or the shipping label → the app displays the shelf location (i.e., what was entered in the metafields).
 |  |
How to use the mobile application
Based on your workflow or on the volume of the products and how they are organised in the warehouse, you can choose one of two main processes available:
A. Scan the shipping label barcode
First you generate the shipping labels and scan the barcode.
Example workflow1: Generate the shipping label - Scan the shipping label - Pick the products - Pack the products - Dispatch order
Early preview of version V02
B. Scan the picking list QR code
First you generate the picking list, scan the picking list QR code with the mobile app, then you generate the shipping labels .
Example workflow 2: Generate the picking list - Scan the picking list - Pick the products - Pack the products - Dispatch order
Early preview of version V02
B. Scan the product barecode
Here you can view all product details — available stock, shelf location, available and committed quantities.
Early preview of version V02

A. Scan the shipping label barcode
It starts by generating the shipping labels and then pick-up the products.
This flow is recommended for small businesses that don't have large warehouses or a lot of products.
Workflow1: Generate the shipping label - Scan the shipping label - Pick the products - Pack the products - Dispatch
Step 1: Generate the shipping labels
You can generate either one by one shippings label or you can generate BULK Shipping labels.
1.Create shippings label one by one, print them and then scan the barecode one by one.
2. If you create bulk shipping lablels: select your orders, add them to a picking list, generate the documents by bulk option, print them and then scan the barecode one by one.
Find below how you can create a picking list and then generate BULK shipping labels:
Step 2: Scan the shipping label barcode
Open the mobile application on your device
Authenticate by scanning the QR code from xConnector - Profile - Preferences - Mobile application
Click on the Scan button
Scan the shipping label barcode with your device. The application will display the order details:

Step 4: Scan the products or mark them manually while picking
Step 5: Complete the scan
Step 6: Pack the order
Step 7: Dispatch the order
B. Scan the picking list QR code
It starts by generating the picking list, then pick-up the products, it ends by generating the shipping labels.
This flow is recommended for medium to large businesses with large warehouses, and the products are stored in rows - units - shelves.
Workflow 2: Generate the picking list - Scan the picking list - Pick the products - Pack
he products - Dispatch
Mobile App Workflow
1. Numbering the Boxes in the Cart (one-time setup)
Boxes are standardly numbered B1, B2, …, Bn, where n is the total number of boxes in your cart.
2. Create a Picking List in the Desktop App
Go to xConnector → New Orders.
Select as many orders as your cart has boxes.
Click the arrow More Actions → Create Picking List.
Example: If you have 10 boxes in your cart, create a picking list with 10 orders.
3. Scan the Picking List
In xConnector, go to Picking List and scan the Picking List QR code.
The mobile app will:
Group products by SKU so you only need one trip to the shelf per product.
Automatically assign each order to a box (e.g., Order 1 → B1, Order 2 → B2, etc.).
When scanning a product, the app displays:
How many units are needed for each order
Which boxes in the cart these units should be placed into
4. Generate Bulk Shipping Labels
Once picking is completed, generate the shipping labels for all orders at once:
Go to xConnector → Picking List
Select the orders
Generate Shipping Labels
Print all shipping labels.
5. Scan the Shipping Labels (AWBs)
Scan each shipping label one by one while in Picking List Scan mode.
If you have exited this mode:
Re-scan the picking list QR code, or
Reopen the picking list, then scan each label.
The mobile app will display the box assigned to that label.
6. Ensure Correct Box–Label Matching
This workflow ensures you will never mix up boxes and shipping labels.
The mobile app guarantees correct pairing between each box and its corresponding label.
Automatically revert the invoice on cancel order
For easier management of refused/returned parcels, the mobile app allows automatic order cancellation in Shopify, along with the corresponding invoice refund.
Step 1: Scan the barcode of the returned shipping label at the store's headquarters.
Step 2: Press Cancel Order.
Result:
✔ The Shopify order is automatically canceled.
✔ The invoice is automatically refunded.
Required settings:
This feature is available in Advanced subscription plan.Feel free to contact us if you need any further information:
Chat: click on the blue chat icon (bottom-right)
E-mail: support@xconnector.app
Phone: +4 0373 747 991
Was this article helpful?
That’s Great!
Thank you for your feedback
Sorry! We couldn't be helpful
Thank you for your feedback
Feedback sent
We appreciate your effort and will try to fix the article